
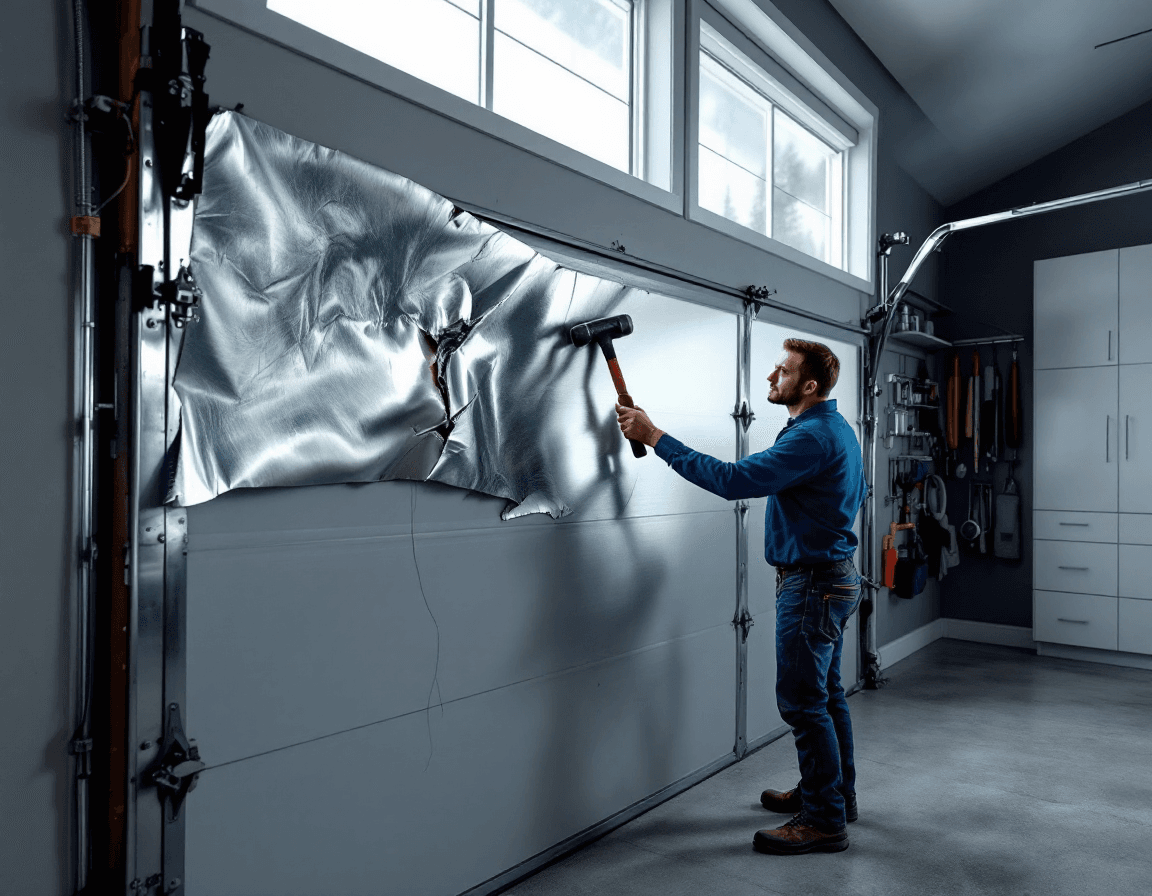
Garage door panel replacement in Lake Forest Park, WA is often the most cost-effective fix when one section of your door is damaged but the rest of the system still works well. A dented panel from a stray backing accident, a cracked section after a winter storm, or a rusted bottom panel can make an otherwise solid door look tired and feel unsafe to use. Many homeowners assume they need an entirely new door, but a single damaged section can usually be swapped out while the existing springs, tracks, and opener stay in service. Our technicians serve homes throughout Lake Forest Park and the surrounding King County communities, and we see this exact situation regularly.
Lake Forest Park sits in a part of King County where the weather and the housing mix both shape how garage doors age. Many homes here have driveways that are narrow, sloped, or shared with neighbors, and the tight turns near Lake Forest Park Towne Centre and along the residential streets toward Sheridan Beach leave little room for error when backing out. Combine that with a wet Pacific Northwest climate, and it is easy to see why panels get dented, bottoms get damp, and finishes start to fade faster than homeowners expect. The good news is that panel damage is one of the more manageable garage door problems when it is caught early and handled by someone who knows how to match and fit the replacement properly.
This page explains how we assess damaged panels, how we approach matching an older or discontinued section, what the typical price range looks like, and how to decide whether replacing a panel makes more sense than replacing the whole door. We also explain where the work stops being a homeowner task and becomes a job for a licensed professional. If you have a panel that looks wrong and you are not sure what to do next, the sections below walk through the decision in plain terms.
Reading the Dent: What a Damaged Panel Is Telling You
Not every dent calls for a new panel, and not every crack is cosmetic. A shallow dimple in the middle of a steel panel may only affect appearance, while a crease that runs along a horizontal stiffening ridge can compromise the panel's shape and make it bind in the track. We start by checking whether the damage is confined to the skin of the panel or whether it has spread into the internal foam core, the hinge points, or the roller channels that connect one section to the next. Insulated steel doors are layered products, and damage that looks small from the outside can sometimes mean the core has separated or moisture has entered.
When we inspect a dented section, we look at how it sits relative to its neighbors. A panel that is pushed inward will often leave a gap at the seam above or below it, or it will cause the door to bow slightly when it is closed. We also check whether the damage has affected the roller stems or hinge brackets, because a bent hinge can make an otherwise good panel impossible to align. Taking these readings tells us whether the job is a straightforward swap or whether the damage points to a larger issue with the door's geometry.
Cracks deserve special attention. A hairline crack in painted steel may be a surface problem, but a split that runs through the full thickness of the panel, or a crack near a hinge or roller bracket, usually means the section has lost much of its strength. Cracks that appear after a cold snap are sometimes linked to existing stress in the panel, so they should be examined rather than simply sealed with touch-up paint. If you see light coming through a crack, or if the panel flexes noticeably when you press on it, that is a clear sign it should be replaced.
Matching a Discontinued Panel Without Guesswork
Matching is the part of panel replacement that surprises most homeowners. Garage door manufacturers update their profiles, window styles, groove patterns, and colors over time, and a door that was installed fifteen or twenty years ago may no longer have an exact match in current catalogs. Even when the manufacturer is the same, a panel with the wrong embossing pattern, a different insulation thickness, or a slightly different height can look obviously out of place once it is installed next to the original sections. We treat matching as a measurement and identification exercise before we ever order a part.
To identify the correct replacement, we look for the manufacturer name and model series, which are often printed on a label inside the door or on the bottom bracket of a section. We then measure the panel height, the width, the number of ribs or grooves, the window insert style if applicable, and the overall thickness. Color is the trickiest variable, because sun exposure and years of weathering change how a finish reads. We compare the existing panels in daylight, and where a factory match is not realistic, we discuss options such as a close color match or a repaint plan that brings the full door into a consistent look.
Sometimes the exact panel is no longer available, and the right answer is a compatible alternative that fits the same hardware. In those cases we explain the tradeoffs openly. A slightly different groove pattern may be acceptable on a dark-colored door or a section that sits low on the door, while it may be too noticeable on a light, glossy finish at eye level. We would rather tell you that up front than install something that technically fits but leaves the door looking patched.
Why Lake Forest Park Doors Take Winter Moisture Hard
Western Washington winters are not especially cold, but they are persistently damp. Lake Forest Park sees long stretches of gray, wet weather, and the humidity that comes with living near Lake Washington and the wooded parts of north King County can keep garage interiors from drying out fully between rain events. A garage door that spends its nights in that environment faces moisture from both directions: rain that runs down the exterior face and condensation that forms on the inside when temperatures drop overnight. Over time, that cycle can work into seams, hinge pockets, and the lower edges of panels.
Panels tend to suffer first where moisture collects and stays. The bottom section sits closest to the ground, catches splash from wet pavement, and is often the last part of the door to dry. On steel doors, moisture that gets past a paint breach can start corrosion beneath the finish, and that rust may spread quietly until a bubble or flake becomes visible. Wood-look and composite doors have their own vulnerabilities, since swelling and rot can develop along the bottom rail or around window inserts if the seal and finish have failed. Catching these problems early keeps a single section repair from becoming a larger job.
Ventilation and drainage make a real difference. We often recommend checking that the garage floor slopes away from the door, that the weatherseal along the bottom is intact, and that gutters or downspouts are not dumping water directly against the lower panels. Keeping the garage reasonably ventilated also helps reduce the constant dampness that encourages rust. These are small habits, but they protect the panels you already have and make any future replacement last longer.
Bottom Panels, Water Lines, and Hidden Rot
The bottom panel deserves its own discussion because it does more work than people realize. It takes the brunt of rolling traffic, gets scraped by curbs and snow shovels, and is the first point where water and road grime reach the door. On many Lake Forest Park driveways, the bottom section also sits in a spot where water pools after heavy rain, especially where the apron meets the garage slab. A bottom panel can look only slightly dull on top while the inside has begun to delaminate or rust along the lower edge.
Look for water lines, which are faint tide-mark stains running horizontally across a panel, as well as soft spots or discolored patches near the bottom bracket. If you press gently on the lower edge and it feels spongy or gives more than the panels above it, the core may be compromised. Staining on the garage floor beneath the door can also be a clue, since it often shows where moisture has been dripping or wicking through. These signs do not always mean the whole door has failed, but they do mean the bottom section should be evaluated before the problem spreads upward.
When a bottom section is replaced, we check the bottom seal and the threshold area at the same time. A new panel installed over a worn seal will still let water in, and the rebuilt section may start to show the same damage within a season or two. We also look at whether the door's bottom bracket and roller hardware are sound, because a loose bracket can allow the lower panel to flex and crack the finish along a predictable line. Addressing these related pieces during the same visit protects the investment in the new panel.
Backing Accidents on Tight Driveways
A single damaged panel after a backing accident is one of the most common calls we hear, and it often comes with a sheepish explanation involving a trash bin, a visiting car, or a turn that looked clearer than it was. Driveways in many parts of Lake Forest Park are compact, with garage doors set close to the edge of the lot or close to a sidewalk, so a small misjudgment can easily dent a section. The impact is usually concentrated in one or two panels, which is good news because it means the rest of the door is often perfectly serviceable.
After an impact, the first priority is to check how the door operates. If the door moves smoothly, closes fully, and sits level in the tracks, the damage may be limited to the panel surface. If the door jerks, binds, stops short, or leaves a visible gap at the seam, the impact may have shifted a track, bent a roller stem, or pulled a hinge out of alignment. In that situation, the door should not be run until a technician has checked the springs, cables, and track, since those components can be under significant tension even on a door that looks ordinary.
Insurance and documentation are worth thinking about too. If the accident involved another vehicle or property, photograph the panel and the surrounding area before any repairs are made. Keep the receipt for the replacement section and any notes from the technician about what was damaged. A clear record makes the claim process simpler and helps everyone understand exactly what was repaired and why.
Repair or Replace: A Practical Decision Path
The question of whether to replace a panel, repair it, or replace the whole door comes down to a handful of factors. A single section with a clean dent and sound hardware is usually a strong candidate for replacement. Two or three damaged sections on a door that is still structurally sound can also make sense to replace, especially if the panels are available and the rest of the door is in good shape. Once the damage spreads across many sections, or the door is showing signs of age in its springs, tracks, and rollers, replacing the entire door may be the more economical long-term choice.
We also weigh the age and condition of the rest of the door. A panel swap on a door that is twenty years old may restore its appearance, but if the springs are near the end of their cycle or the tracks are worn, you may find yourself back in the same situation within a year. Conversely, a relatively young door with a single damaged section is an excellent candidate for a targeted repair, since the rest of the system has plenty of life left. Matching the repair to the door's overall health gives you the most value for the money.
- A single dented or cracked section on an otherwise smooth-running door usually favors panel replacement.
- Damage spread across several sections, or repeated rust and water intrusion, often points toward evaluating a full door replacement.
- Bent tracks, binding, uneven closing, or a sagging door suggest the problem may extend beyond the panel.
- Discontinued panels that cannot be matched closely may make a full door the cleaner option for appearance.
- Any spring or cable issue should be handled by a licensed technician before anything else is addressed.
What a Single Section Typically Costs
Panel replacement is priced per section, and the range we commonly see for a single section runs from $250 to $800, depending on the door. The spread reflects several real variables. A standard steel panel on a common residential door sits at the lower end of that range, while insulated sections with complex window inserts, decorative grooves, wood-look finishes, or hard-to-find profiles can cost more. The size of the section, the availability of the part, and the amount of labor needed to align and rebalance the door all factor into the final number.
We provide an itemized estimate after inspection rather than quoting from a distance without seeing the door. That estimate should spell out the panel, any hardware such as hinges or rollers that need replacing, and whether finishing or touch-up work is included. If a second damaged section is discovered during the visit, we explain the added cost before doing any additional work. Our goal is to make sure you understand what you are paying for and why.
Keep in mind that the lowest possible number is not always the best value. A cheaper panel that does not match well, or that is installed without checking the seal and hardware, can leave you with a door that looks patched and performs less reliably. Paying for accurate matching and a proper fit usually produces a result you will be happier with for years.
What Happens During a Panel Swap
A typical panel replacement begins with securing the door and confirming that it is safe to work on. Because garage doors are heavy and many are under spring tension, the technician will check the springs and the door's balance before disconnecting any sections. The door is then supported or lowered in a controlled way so the damaged panel can be removed from its hinges and roller connections. We keep track of how each hinge, bracket, and roller sits so the new section aligns with the adjacent panels.
Once the old panel is out, the new section is inserted and fastened, and the hinges and rollers are set to the correct position. Alignment is the critical step. The panel must sit flush with its neighbors, the seams must close evenly, and the roller stems must ride smoothly in the track. We then test the door through several full cycles, watching for binding, uneven movement, or any noise that suggests a hinge or roller needs adjustment. The bottom seal is checked at the same time, and if it is worn, we discuss replacing it.
Finishing is the last piece. Some replacement panels arrive with a factory finish that matches well out of the box, while others may need touch-up paint or a more involved refinishing plan for a closer blend. We explain the options before the work starts so you know how the door will look when the job is complete. A well-executed swap should leave the door looking whole, moving smoothly, and sealing properly along the bottom.
Keeping Replacement Panels Looking Right for Years
Once a new panel is installed, a few simple habits help it blend in and stay in good condition. Wash the door periodically with a mild soap and water rather than harsh abrasives, which can dull finishes and leave micro-scratches where grime collects. Rinse the lower panels especially well after winter storms, since road salt, moss, and mud are most likely to build up near the bottom. Check the paint for small chips in the spring and address them promptly, before moisture gets beneath the finish and starts corrosion.
Sun exposure matters too. Doors that face south or west can fade faster than those in shade, and a new panel next to a sun-weathered section may look slightly different for a while. Over time the colors tend to even out, but applying a quality exterior protectant suited to your door's material can slow fading and make cleaning easier. Avoid products that leave a greasy residue on the surface, since they can attract dust and make the door look dirty faster.
Finally, keep an eye on the seams and hardware. Tighten loose bolts when you notice them, and look for hinges that have started to gap or rollers that have worn flat. Catching small problems early keeps a single panel repair from turning into a series of repairs. A quick visual check every few months is a reasonable habit for most homeowners.
Safety Boundaries Homeowners Should Respect
Panel replacement is a job that sits right at the edge of what a homeowner should attempt alone. Removing a panel may involve disconnecting the door from its opener, handling a heavy section, and working near components that are under spring tension. Those springs store a large amount of energy, and mishandling them can cause serious injury. For that reason, we strongly recommend that any panel work, and especially any work involving springs, cables, or tension, be performed by a licensed and insured professional.
Homeowners can safely do a few things without taking on risk. You can inspect the door, photograph damage, note the manufacturer label, measure the panel height and width, and keep the damaged section available for the technician to review. You can also keep the area around the door clear and make sure the opener is disconnected before anyone works on the door. Beyond that, it is best to step back and let a qualified technician handle the mechanics.
If you are unsure whether a damaged section is a candidate for simple replacement or whether it points to a larger problem, call us for an inspection. We will explain what we find, what the options are, and what the work would cost before anything is changed. Our technicians are licensed, bonded, and insured, and we are happy to walk you through the process from the first assessment to the final adjustment.
If a dented, cracked, or water-damaged panel is making your Lake Forest Park garage door look worn or feel unreliable, the next step is a straightforward inspection. Call Seattle Garage Door Fix at (888) 799-3819 to schedule a visit, and we will confirm whether a single-section replacement makes sense for your door or whether a broader repair plan would serve you better.