
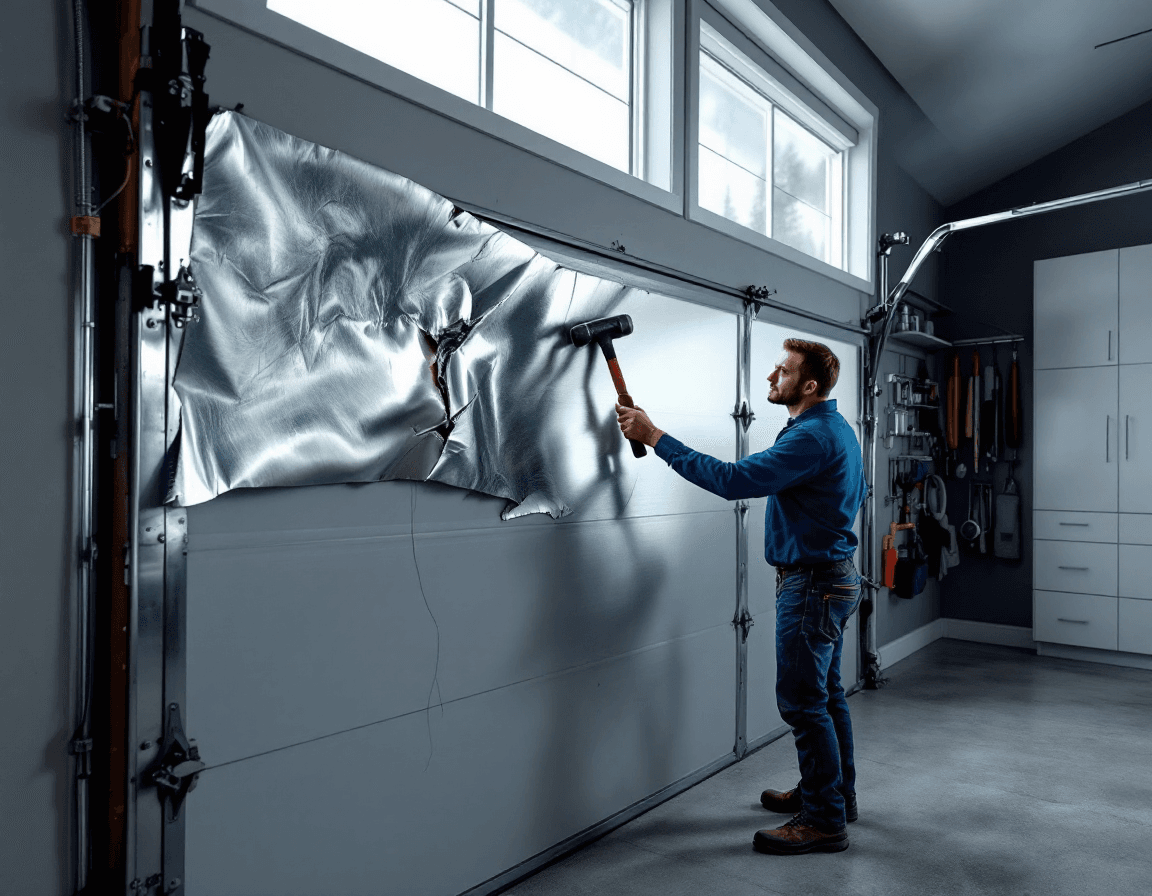
Garage door panel replacement in Clyde Hill, WA is often the most cost-effective fix when one or two sections of an otherwise sound door have been dented, cracked, or worn through. Clyde Hill sits on the east side of Lake Washington in King County, and its quiet, tree-lined streets, long driveways, and hillside lots make garage doors work hard every day. A door that still opens and closes smoothly can still look tired, or it can hide a damaged panel that will get worse with each wet season. Our technicians serve homeowners across the 98004 area and the surrounding neighborhoods, and the calls we get most often start with the same sentence: the door works fine, but one section looks wrong.
This page explains what panel damage usually looks like on local homes, why our climate makes some problems develop faster than others, and how to decide between repairing a section and replacing it. We also cover what a typical panel swap involves, what it generally costs, and why the springs, cables, and lift hardware should stay in the hands of a licensed professional. Panel work sounds simple because you are only swapping a piece of steel, insulated foam, or wood, but the section is connected to a system under serious tension. Knowing where the line sits between a reasonable homeowner check and a professional job will keep you safe and keep your door in good shape.
Whether your damage came from a backing accident, a winter storm that drove water under the bottom seal, or simply years of sun and rain, the goal is the same: a door that looks right, seals properly, and holds up to the Pacific Northwest for another decade. The sections below walk through each part of that decision in plain terms, the way a technician would explain it standing in your driveway.
Reading the Damage on a Clyde Hill Garage Door
Start by looking at the door in good daylight, ideally with the door fully closed and then again with it partly open. Dents usually show up as shallow dishes in the panel surface, and they catch the light differently from the surrounding metal. Cracks, especially in older composite or wood-look panels, often appear as hairline lines that follow the grain or the seam between the panel and its frame. Walk the full width of the door and look at each section individually, because a single damaged panel is easy to overlook when the rest of the door looks clean.
Pay close attention to the edges of each section, not only the flat face. A panel that took an impact near the perimeter may have bent the retaining clips, pulled the rail slightly out of alignment, or cracked the edge where it meets the next section. If you see a gap that was not there before, or a section that now sits a little proud of its neighbors, the damage may extend beyond the visible dent. Gently run your hand along the seam at the top and bottom of the section and feel for sharp edges or movement when you press lightly.
Keep your inspection to looking, touching, and documenting. Take a few photos from the inside and outside, noting the section number if your door has several panels, so you can describe exactly what you see when you call. Do not try to pry a panel out, loosen hinges, or adjust the rollers while the door is under load. Those components are connected to springs and cables that store enough energy to cause serious injury, and a visual check is all you need before getting a professional out to look at it.
Why Pacific Northwest Weather Is Hard on Garage Panels
Western Washington's climate is mild compared with much of the country, but it is persistently damp. Long stretches of gray drizzle, heavy fall storms, and winters where the ground stays saturated for weeks mean that moisture is always looking for a way in. Garage doors are especially exposed because the bottom of each section sits close to the driveway, where runoff, splashback, and pooled water collect. On a sloped Clyde Hill driveway, water that moves downhill during a storm can find its way under the door faster than homeowners expect.
Moisture alone rarely ruins a steel panel quickly, but it does create the conditions for corrosion to start at scratches, dings, and factory seams. Once a small rust spot forms at a dent, it can lift paint and spread along the panel from the inside out, which is why a door that looked fine a year ago can suddenly show bubbling or orange streaks. Wood-look and composite sections face their own challenges, since repeated wetting and drying can swell fibers, soften edges, and encourage rot if the finish has worn thin. Sun exposure on south- and west-facing doors also fades color and makes older finishes chalky, which is one reason mismatched panels become noticeable over time.
Winter temperatures in the area swing around freezing often enough that water can get into small gaps and freeze, widening cracks slightly with each cycle. Homeowners often notice this after a cold snap, when a hairline crack that was barely visible in October suddenly looks like a split. Keeping the door's weather seal in good condition and addressing small damage early limits how far this process can go. A panel replaced before water reaches the core is generally a simpler and less expensive job than one that has been soaking for several seasons.
Dents, Cracks, and the Backing-Accident Pattern
Backing accidents are among the most common reasons a single panel needs attention. A bumper, a trailer hitch, a car mirror, or a child's bicycle can put enough force into one section to bend the panel, crease the insulation, or crack the decorative face. The pattern is usually distinctive: the damage concentrates in one section, often at or near the height of a vehicle's bumper or rear corner, and the adjacent panels look untouched. If you see that pattern, the impact was likely localized, and replacing the affected section may be more practical than trying to restore the whole door.
Dents in steel panels fall into two broad categories. Shallow dents with the paint intact can sometimes be pushed back or improved, but if the metal has creased, stretched, or lost its original profile, the panel will rarely sit flush again. Deep dents that crack the paint or expose bare metal are a different situation, because they invite corrosion and usually cannot be restored to a level finish. Cracked composite or wood sections typically cannot be bonded back together in a way that lasts, especially where the crack runs through a stress point near the hinge line.
A backing accident can also damage the track, rollers, or hinges even if the panel itself looks like the only casualty. After any significant impact, have a technician check the door's alignment and hardware before or during the panel replacement. Sometimes the panel damage is the obvious symptom, but a bent track or a loosened hinge is what allowed the impact to deform the section in the first place. Addressing both at once avoids a second visit and prevents a replacement panel from being installed on a door that is still out of square.
Bottom Panels, Water Lines, and Rot Near the Floor
The bottom section of a garage door takes the most abuse from weather and from the ground itself. It is the first section to meet water on the driveway, the first to scrape against an uneven slab, and the first to absorb a bump from a car creeping in during a tight parking maneuver. Homeowners in Clyde Hill often notice that the bottom panel shows water staining, a dark line at the seam, or a bulge where the bottom edge has been pushed inward. These signs usually mean water has been getting behind the panel or wicking up from the floor for some time.
Rot and rust tend to start at the bottom edge and move upward, particularly in wood-look and composite panels where the lower rail or base of the section stays wet. Check the bottom panel's lower edge for soft spots, crumbling material, or flaking paint, and look for a waterline that runs straight across the section at roughly the same height. A waterline suggests the panel has been sitting in standing water or repeatedly splashed, which means the damage may extend into the insulation core. Replacing the bottom panel is often the right call when the damage reaches the core, because the section cannot be dried out in a way that restores its strength.
Water intrusion at the bottom also affects the weather seal and the threshold, so a damaged bottom panel rarely acts alone. If the seal is flattened, torn, or missing, rainwater can enter the garage and pool under the door, which accelerates the decay of the panel above it. When you replace a bottom section, ask the technician to check the seal and the ground-level alignment at the same visit. That combined attention keeps a new panel from taking on the same water damage that ruined the old one.
Matching a Panel That Has Been Discontinued or Faded
Matching is often the hardest part of a panel job, and it is where many homeowners feel the most frustrated. Garage door manufacturers update their designs, change their finishes, and sometimes discontinue specific panel profiles, which means an exact match may not be available off the shelf. Even when the model number is the same, the original color may have faded on the surrounding sections over a decade of sun and rain, so a brand-new panel can look noticeably brighter or darker. The mismatch is usually more visible on a driveway-facing door than most people expect.
A good technician will start by identifying the door's manufacturer, model series, and approximate installation date, usually from a label on the inside of a section or the original paperwork. From there, the practical options include ordering a matching panel from the manufacturer, sourcing a close equivalent, or, in some cases, replacing a full run of sections so the door looks uniform. Each option has tradeoffs in cost, lead time, and appearance, and none of them is perfect for every door. Be cautious of any shortcut that promises a perfect match without first confirming the panel profile, thickness, and hardware pattern.
If the panel you need cannot be matched closely, talk through the alternatives before committing. Repainting a steel section to blend with the others is sometimes workable for minor fading, but it will not fix a profile mismatch or a color shift in a wood-grain finish. Some homeowners choose to replace the affected section and accept a slight difference, especially when the new panel is on a less-visible portion of the door. What matters most is that the replacement fits the door's structure and seals properly, because a visually close panel that does not align will cause more problems than a slightly different shade.
Repair or Replace: A Practical Decision Path
Deciding between repairing a damaged section and replacing it depends on the type of damage, the age of the door, and whether the surrounding panels are sound. The following list covers the situations where replacement is usually the better choice:
- The panel has a crack that runs through the structural edge or the hinge line.
- Water has reached the insulation core, leaving the section soft or spongy.
- Rust has spread through the panel's inner skin or along a seam.
- The dent is deep enough to stretch the metal or crease the panel profile.
- The section no longer sits flush with the adjacent panels after being damaged.
Repair is more reasonable in other situations, such as a shallow dent with intact paint on a steel panel, a small surface scratch that has not reached bare metal, or a minor edge chip on a composite section that has not compromised its structure. Some hardware issues, like a loose retaining clip or a bent edge bracket, can be corrected without replacing the panel at all. A technician can usually tell within a few minutes which path makes sense, and the best recommendation is the one that leaves the door safe, sealed, and visually acceptable without spending money on work that will not last.
Age plays a role too. On a door that is already showing wear across several sections, replacing one panel may only postpone the next problem, and a broader conversation about the whole door may make more sense. On a newer door with otherwise excellent panels, a targeted replacement is often the most sensible investment. Be honest with yourself about how much of the door has been affected, and ask the technician to show you the condition of the neighboring sections so you can compare.
What a Single Section Typically Costs Here
Panel replacement pricing depends mainly on the door itself. Our typical range for replacing one section runs from $250 to $800, with the final number shaped by the panel's material, insulation, size, and how difficult it is to source. A standard steel section on a common residential model generally falls toward the lower end, while a wood-look, insulated, or custom-profile panel on a larger or more specialized door usually lands higher. Matching work, especially when the original design has been discontinued, can also affect the total.
Several factors can push the cost up or down within that range. The condition of the hardware matters because worn hinges, rollers, or brackets sometimes need attention during the same visit, and that work is priced separately. If more than one section is damaged, the per-section cost may shift because certain setup steps only need to happen once. Access also plays a role, since a door on a steep driveway, a detached garage, or a section that requires careful handling may take more time than a straightforward swap.
When you request an estimate, ask the technician to explain exactly what the quoted price covers. A reliable quote should identify the section being replaced, the panel type, whether matching is included, and whether the inspection of adjacent hardware is part of the job. Avoid vague quotes that do not mention the panel model or the material. A clear written estimate protects you from surprises and makes it easier to compare the cost against the option of repairing rather than replacing.
What Happens During a Panel Swap, Step by Step
A typical panel replacement begins with a thorough inspection of the door, the track, the hinges, and the springs. The technician confirms the door's model and the damaged section, checks the surrounding panels for similar problems, and verifies that the replacement panel matches the door's dimensions and hardware pattern. This is also when the technician will explain whether the door needs to be partly disassembled, which is common because most sections are joined to their neighbors through hinges and brackets.
The actual swap requires securing the door safely, releasing the affected section from its hinges and retaining clips, and removing it from the assembly. Because the lift system remains under tension, this is work that should be done by a licensed professional with the correct tools and training. The new panel is then fitted, aligned with its neighbors, and attached with the same hardware, after which the technician checks the door's balance, the track alignment, and the weather seal. A test run of the door, opening and closing it several times, confirms that the new section moves smoothly through the track and does not bind.
Once the work is complete, ask the technician to walk you through what they checked. A good visit ends with the door operating normally, the new section sitting flush with the others, and a clear explanation of any maintenance you should watch for. If the technician recommends future attention to the bottom seal, the hinges, or a particular section, take that advice seriously, because early attention keeps a single-panel repair from turning into a larger job.
Keeping Replacement Panels Looking Right for Years
A new panel will look its best if the rest of the door is kept in good condition. Clean the door periodically with a mild detergent and water, rinsing thoroughly to remove the film that builds up from road grime, pollen, and the fine dust common on Eastside driveways. Avoid harsh abrasives or strong solvents, which can strip finishes and leave the new panel looking different from the old ones. Inspect the paint or finish at least twice a year, especially after the winter rains, and touch up small scratches before they expand.
Keep the bottom seal clean and flexible, and check it after heavy storms for tears, flattening, or gaps. Clear debris from the track and keep the area in front of the door free of standing water where possible, since pooled runoff is one of the main causes of bottom-panel damage. If your driveway slopes toward the garage, consider whether a drainage adjustment or a simple threshold check would reduce how much water reaches the door. Small habits like these protect the new section and the surrounding panels alike.
If your home is in a neighborhood where exterior appearance is a point of pride, a little attention to finish and alignment goes a long way. Homeowners who drive past the Clyde Hill overlook or walk their dogs along the quieter streets often notice their garage doors more than they expect, especially when one section stands out. Keeping the whole door visually consistent is not only about looks; it also reflects the care that keeps the door structurally sound.
When a Panel Is Not the Real Problem
Sometimes a damaged-looking panel is only the most visible symptom of a larger issue. A section that bulges outward may be pushed by an unbalanced door or a spring that has lost tension, and a panel that cracks at the same spot repeatedly may be absorbing stress from a misaligned track. Gaps between sections, uneven stacking when the door opens, or a door that drifts when it is partly raised can all point to hardware problems that a new panel will not fix. Recognizing these patterns early prevents the frustration of replacing a panel only to see the same damage return.
Be especially careful if you hear grinding, popping, or snapping sounds during operation, or if the door seems heavier or lighter than usual. Those signs can indicate worn springs, damaged cables, or a rollers problem, and springs and cables are not a homeowner job under any circumstances. The stored energy in a torsion or extension spring is significant, and attempting to adjust or remove it can cause severe injury. A licensed technician can assess the entire system, replace the damaged components safely, and then address the panel as part of a complete repair.
A thorough technician will tell you when a panel replacement is enough and when the door needs more work. That honesty is worth looking for. If the panel is the only problem and the rest of the door is sound, a targeted replacement is the efficient choice. If the hardware, seals, or springs are part of the picture, the right move is a complete assessment, so the new panel goes onto a door that is ready to perform.
If you are looking at a dented, cracked, water-damaged, or mismatched panel on your Clyde Hill home, our licensed and insured technicians can inspect the door, explain your repair-or-replace options, and give you a clear estimate for the section involved. Call Seattle Garage Door Fix at (888) 799-3819 to schedule a visit and get your door looking and functioning the way it should.