
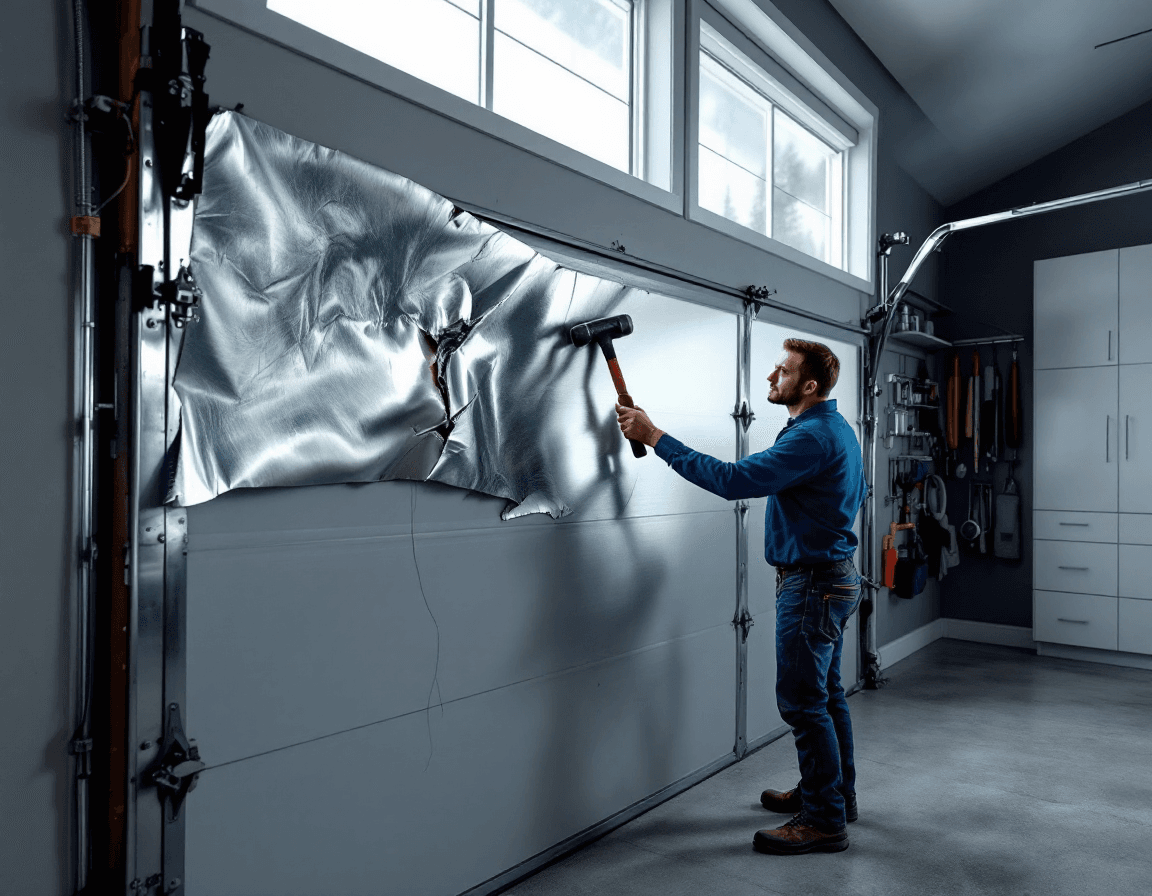
Garage Door Panel Replacement in Brier, WA is often the most sensible fix when one section of an otherwise healthy door has been dented, cracked, rusted, or waterlogged. Many homeowners in Snohomish County assume a damaged panel means buying a whole new door, but the rest of the door may be in good shape. The tracks, rollers, springs, and opener can keep working for years while a single section is swapped out. This guide explains how to read the damage, what affects cost, and when a replacement makes more sense than repair.
Brier sits in a part of Snohomish County where garage doors live with a lot of moisture. Long gray stretches from fall through spring, frequent drizzle, and damp evenings mean a door's lower sections can stay wet longer than most homeowners realize. Add the occasional windstorm and the ordinary bumps of daily life, such as a bike, a trash can, or a teenager learning to back out of the driveway, and it's no surprise that panels are often the first part of the door to show wear. Understanding what caused the damage is the first step toward a repair that will hold up.
If you are unsure whether your door needs a single panel or something more, this page walks through the decisions in plain language. Our technicians serve Brier and the surrounding 98036 area, and we are happy to look at your door and explain your options without pressure. Every repair we recommend should match what your door actually needs, and that includes saying clearly when a panel is not the right fix.
Reading the Damage Before Anyone Picks Up a Tool
A good panel replacement starts with a careful look at what is actually wrong. Dents can be shallow and cosmetic, or they can be deep creases that have stressed the panel's joints and the hinges that connect it to its neighbors. Cracks in older polymer or composite panels often start as hairline lines near the edges, and they tend to grow when the door flexes during daily operation. A quick visual check from both inside and outside the garage will tell you a lot, especially if you look at the panel with the door closed and then again with the door partway open.
Pay attention to the hinges and the rails on either side of the damaged section. When a panel takes a hard hit, the force often travels into the hinge that joins it to the next section, bending the hinge plate or loosening the rivets. If the door now sits unevenly, makes a grinding noise, or drags on one side, the damage may extend beyond the panel itself. A technician should check these connection points before ordering a replacement, because a new panel attached to a bent hinge will not sit flush and will look wrong almost immediately.
Take photographs of the damage from a few angles and note the panel's location, such as the third section from the top or the bottom weather seal section. These details help when you call for a quote, because the right replacement depends on the exact position and size of the section. It also helps to know whether the door is a single-layer steel model, an insulated sandwich-style door, or a wood or wood-composite design. Each of these carries its own construction, and a panel from one type rarely fits another.
Why Brier's Damp Winters Quietly Attack Bottom Panels
The bottom section of a garage door takes the brunt of Western Washington weather. Rain runs down the face of the door, collects at the threshold, and sits against the lowest panel for hours at a time. In a region where the sun may stay hidden for days, that moisture doesn't evaporate quickly, and the bottom edge can stay damp through much of the season. Over time this wears away paint and primer, and once the metal or wood is exposed, corrosion or rot can begin working upward into the panel.
Steel doors that lack a sealed bottom edge are particularly vulnerable. When paint chips along the bottom rail, surface rust can creep under the paint film and expand, slowly deforming the panel. Wood and wood-composite doors face a different enemy: moisture soaks into end grain and seams, causing swelling, softening, and eventually soft spots that crumble when pressed. Pressure-washing the driveway near the door, or allowing sprinkler spray to hit the lower panels every morning, can speed up the process considerably.
Good maintenance can slow this down. Repainting exposed edges with a compatible exterior paint, keeping the bottom weather seal in good condition, and clearing leaves and debris from the threshold all help. Still, a bottom panel that has already begun to rot or rust usually needs replacement rather than patching, because the damage is rarely confined to the visible surface. If you see bubbling paint, dark staining, or a spongy feel along the lower edge, it is worth having a technician check the section before the problem spreads to the neighboring panel.
Matching a Panel Nobody Makes Anymore
One of the most common frustrations homeowners face is discovering that the original door manufacturer no longer produces the exact panel style they need. Doors installed in the neighborhoods around Brier have varied over the decades, and a door that looks ordinary from the curb may have a specific embossing pattern, groove spacing, or window configuration that is harder to find than expected. Color is another challenge, because exterior finishes fade under years of sun and rain, and a new panel fresh from the supplier can look noticeably different from the weathered sections around it.
Matching starts with identifying the door's make, model, and approximate year of installation. The manufacturer's label is often printed on a panel's inside face, near a hinge, or on the bottom of a section, though it may be faded or hard to read. Measuring the panel's height, width, thickness, and the depth of the grooves or ribs gives a technician what they need to find a close equivalent. In some cases a panel from a different series of the same brand will fit with minimal modification, while other times the best match is a compatible style rather than an exact copy.
Faded finishes deserve their own attention. A new panel may need to be painted or stained to blend with the rest of the door, and that work is best done with exterior-grade products suited to the material. Expect some visible difference, especially on older doors where the existing color has weathered unevenly. A good technician will be honest about what can be matched closely and what will show a difference, so you can decide whether a slight variation is acceptable or whether a different approach, such as replacing a larger set of sections, makes more sense.
Repair or Replace: The Honest Math for a Single Section
Deciding between repairing and replacing a damaged panel comes down to a handful of practical questions. First, is the damage limited to the panel face, or has it reached the edges, hinges, or internal bracing? A surface dent that has not cracked the panel's structure may be straightened or reinforced in some cases, while a cracked or split panel generally cannot be restored to full strength. Second, how old is the door? On a door approaching the end of its expected service life, spending money on one panel may not make sense if other sections are also deteriorating.
Third, consider the cost of the repair relative to the door's condition. Replacing a single section typically falls in the range of $250 to $800 per section, depending on the door, and that price reflects the panel itself, the labor to remove and install it, and any hardware or finishing needed. If the door has multiple damaged sections, or if the springs, rollers, or opener are also nearing the end of their life, a larger investment may serve you better in the long run. A technician who looks at the whole system can help you compare costs realistically.
Fourth, think about how the door will look and perform after the work. A panel that has been replaced and matched well can leave a door looking nearly new, while a poorly matched panel can stand out for years. If you plan to sell your home soon, curb appeal and a tidy exterior may weigh more heavily in your decision. Whatever you choose, ask for a clear explanation of what is included, what is not, and what the likely outcome will look like before any work begins.
What a Backing Accident Does Beyond the Dent
A backing accident is one of the most common reasons a single panel needs replacement. A car, a delivery van, or even a trailer can strike the lower section hard enough to crease the steel, split a polymer panel, or pop sections out of their grooves. Many homeowners are surprised to find that the visible damage is only part of the story. The impact can bend the end caps, distort the track near the bottom bracket, or stress the springs and cables even though the door itself seems to be working.
After an impact, avoid operating the door until a technician has inspected it. A door that has been struck may not be balanced properly, and running the opener against a bent track or a distorted panel can cause further damage or create a safety hazard. If the door is sitting crooked, is catching in its tracks, or has visible gaps at the top or sides, stop using it and call for service. Do not attempt to force the door open or closed by hand, and keep children and pets away from the area until the door has been checked.
Insurance questions often come up after an accident, and documentation helps. Photograph the damage, note the date and time, and keep any information about the other vehicle or driver if one was involved. Your insurer may have specific requirements for repairs, and a detailed written estimate from a licensed technician can make that process smoother. Keep in mind that the cost of the panel itself is only one component; labor, alignment, and any track or spring adjustments should be included in the estimate so you understand the full scope.
- Check the panel's edges and grooves for splits that extend beyond the visible dent.
- Look at the hinges on either side of the damaged section for bends or loose rivets.
- Watch for uneven gaps along the top, sides, or bottom weather seal when the door is closed.
- Listen for grinding, popping, or scraping sounds during operation, which can signal track or roller damage.
- Note any sagging or crooked movement, and avoid running the opener until the door has been inspected.
Sections, Sizes, and What Drives the $250 to $800 Range
Panel replacement pricing is shaped by several factors, and understanding them can help you read a quote with confidence. The price range of $250 to $800 per section reflects the wide variety of door types on the road today. A basic steel panel from a common door series will generally cost less than a decorative insulated panel with embossed patterns, glass-look inserts, or a specialty finish. Wood and wood-composite panels often carry a higher price because they require more custom work and finishing to match.
Size and location also matter. A full-width section on a large double door takes more material and handling than a narrower section on a single-car door, and a bottom panel may require extra care because of the weather seal and the bottom bracket. The work involved in removing the damaged panel, aligning the new one, and reattaching the hinges can vary depending on how tightly the door is built and how much the surrounding sections have been stressed. Access inside the garage, such as shelving or stored items that need to be moved, can also affect the time required.
Finally, the condition of the surrounding door influences the final number. If the new panel must be painted or stained to blend with the rest of the door, that work adds to the total. If hinges, rollers, or end caps need replacing during the same visit, those parts are included in the estimate. Ask your technician to itemize the quote so you can see what each component costs. A transparent estimate helps you compare options fairly and avoid surprises later.
A Step-by-Step Look at How a Panel Swap Actually Goes
A typical panel replacement follows a predictable sequence, though the details depend on the door's design. The technician begins by securing the door and checking the springs, cables, and track so that the section can be safely removed. Here is an important safety point: garage door springs are under very high tension, and adjusting, winding, or removing them should only be done by a licensed professional with the right tools and training. Homeowners should never attempt spring work themselves, because a single mistake can cause serious injury.
Once the door is safely supported, the technician removes the hardware connecting the damaged panel to its neighbors. The hinges are unbolted or unriveted, the roller stems are checked, and the damaged section is slid out of the track or lifted free depending on the design. The replacement panel is then fitted into place, the hinges are reattached, and the door is cycled slowly by hand and then with the opener to confirm that the new section travels smoothly. Any alignment issues are corrected before the job is considered complete.
The final stage includes checking the weather seal, testing the auto-reverse feature of the opener, and making sure the door closes flush against the floor. Finishing touches such as paint or touch-up may be applied once the panel is in place, though some finishes need time to cure before the door is operated frequently. Your technician should walk you through the result and explain any maintenance steps, such as reapplying a sealant or cleaning the track, that will help the new section last.
Rust, Rot, and Hidden Water Paths in Steel and Wood Doors
Steel and wood doors fail in different ways, and recognizing the warning signs can help you catch problems early. On steel doors, rust often begins at scratches, dents, or spots where the factory finish has worn thin. It may look like small orange freckles at first, but it can spread quickly under paint if moisture stays trapped. Tapping the surface lightly with a knuckle can reveal a hollow or dull sound where corrosion has weakened the panel's skin, and that is a sign to have the section inspected.
Wood and wood-composite doors show their damage in softer ways. Look for swelling along the bottom rail, cracked or lifting paint, dark staining near the joints, or a spongy feel when you press the panel. Once moisture has penetrated the wood, it can travel along the grain and reach the stiles and rails, which makes spot repairs less effective over time. Refinishing the exterior with a quality exterior coating can protect a sound wood door, but a section that has begun to rot usually needs full replacement.
Hidden water paths deserve attention too. Gaps between panels, worn seals at the sides, and cracked caulk around the frame can all allow rain to reach the interior of a panel. Insulated doors can trap moisture inside the foam core if the outer skin is breached, which may not be visible until the panel shows bulging or discoloration. Checking these entry points each season, especially after the heaviest winter storms, gives you a chance to address small problems before they lead to a full panel failure.
Keeping a Replaced Panel From Becoming the Weak Spot
A new panel deserves the same care as the rest of the door, and a few simple habits can extend its life considerably. Rinse the lower sections periodically to remove salt, dirt, and mildew that collect during the wet months, and avoid spraying high-pressure water directly at seams or seals. Keep sprinklers from hitting the door every morning, since repeated soaking is one of the fastest ways to bring moisture into the bottom edge. Check the paint or finish each spring and touch up any chips before they grow.
Lubrication and balance matter as well. The rollers, hinges, and track should be kept clean and lightly lubricated with a silicone-based or manufacturer-recommended product, and dirt or grit should be wiped away before it can grind into the moving parts. A door that is out of balance puts extra stress on the panels and hinges, so if you notice the door struggling to lift or drifting when it is partly open, schedule a check. Balance adjustments involve the springs, so they should be handled by a licensed technician rather than by the homeowner.
Finally, think about the door's overall condition each year. A single replaced panel is a good investment when the rest of the door is sound, but repeated damage to different sections may point to an underlying issue such as a misaligned track, aging hardware, or a door that is simply reaching the end of its service life. Keeping a simple maintenance log with dates, photos, and notes can help you spot patterns and communicate clearly with your technician.
Scheduling a Panel Repair on Your Block in Brier
Scheduling a panel repair in Brier is usually straightforward, and planning a few details ahead can make the visit go more smoothly. Before the technician arrives, clear a path to the garage door and move vehicles, bicycles, and stored items so the work area is accessible. If the damaged panel is visible from the street, you may want to park elsewhere temporarily or let neighbors know that the door will be out of use for part of the day. For homes near Brier Park and the residential streets in the 98036 area, parking and access can vary, so mention any special considerations when you call.
Plan for the door to be out of service while the work is underway. Depending on whether the replacement panel must be ordered, the repair may happen in one visit or may require a return trip once the new section arrives. Ask your technician how long the door will be inoperable and whether you should use the side entrance in the meantime. If a finish needs time to cure, you may be asked to avoid running the door frequently for a day or two, so ask about that as well.
When you call, have a few details ready: the door's approximate age, the brand if you know it, the location and size of the damaged section, and photos if possible. These details help us provide a more accurate estimate and reduce the chance of a return visit. Our team is available at (888) 799-3819 to answer questions about panel replacement, matching, and repair-versus-replace decisions for Brier homeowners.
If your garage door has a dented, cracked, rusted, or water-damaged panel, a careful inspection will show whether a single section replacement is the right fix. Call Seattle Garage Door Fix at (888) 799-3819 to schedule a licensed technician to look at your door, explain your options, and give you a clear, itemized estimate for your Brier home.