
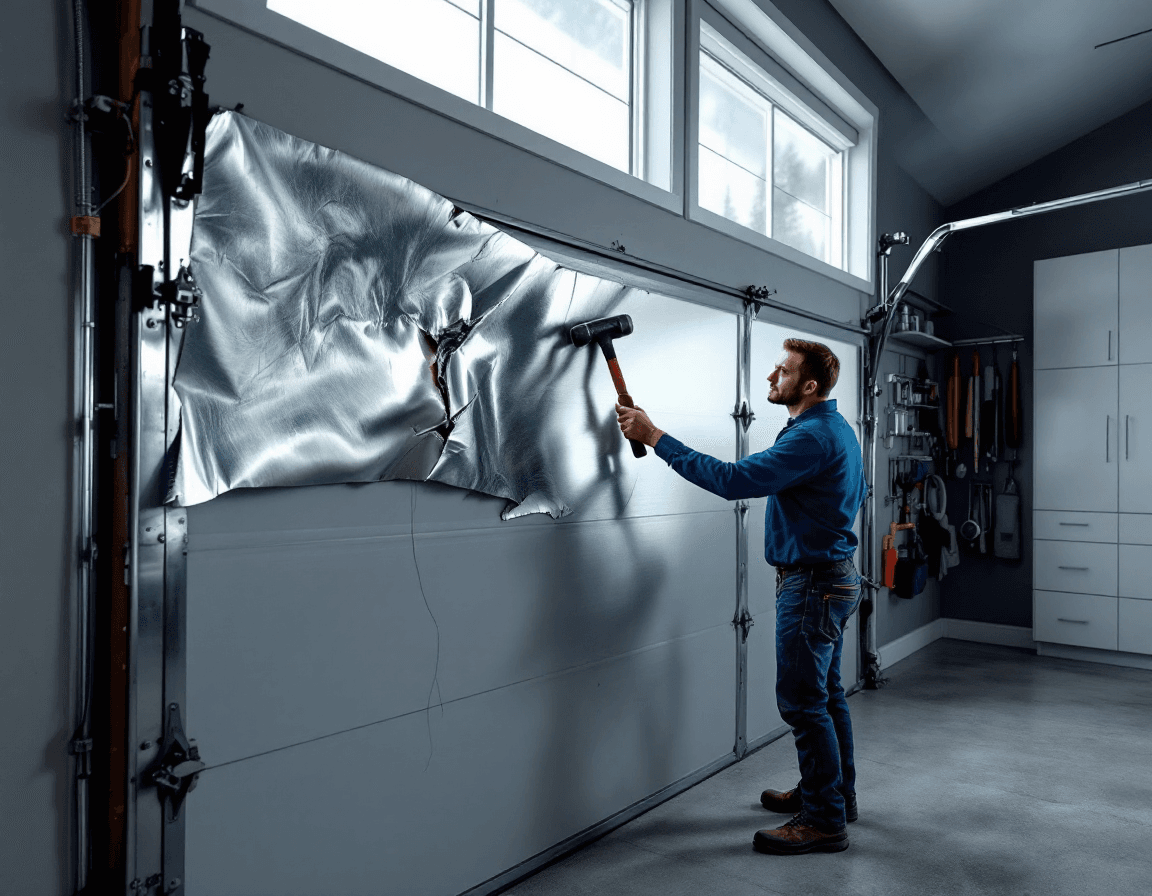
Garage Door Panel Replacement in SeaTac, WA is often the smartest fix for a door that still runs well but looks worn, bent, or water-stained. If a single section has been dented by a backing accident, cracked by a flying branch, or softened by years of moisture at the bottom edge, you may not need a new door at all. Many homeowners in SeaTac assume the whole door has to go once one panel is damaged, and that assumption often costs them far more than necessary.
SeaTac sits in a part of King County where the airport, the freight corridors, and busy residential streets all contribute to daily traffic and tight driveways. Many homes in the 98188 and 98198 ZIP codes have attached garages with limited turning room, which makes minor bumps and scrapes a common occurrence. Neighborhoods around Angle Lake, McMicken Heights, and Bow Lake include a mix of older single-story homes and newer builds, and the garage doors on those properties range from decades-old steel sectional doors to more recent insulated models with decorative windows and textured finishes. Each of those door types responds to damage differently, which is why panel work should always start with an honest look at what you actually have.
This page walks through how panel replacement works, when repair makes sense compared with a full swap, how local weather affects the materials, and what to expect on price and scheduling. The goal is to help you make a clear decision rather than push you toward a particular outcome. Where safety-critical components like torsion springs and cables come into play, we will point out that those jobs belong with a licensed professional, and we will explain why.
Why One Dented Panel Deserves Attention Before It Spreads
A single dent may look like a cosmetic problem, but a bent panel changes how the sections around it fit together. Steel garage door sections interlock along their edges through hinges and tongue-and-groove joints, and when one panel is pushed out of shape, the stress can transfer to neighboring sections. Over time, that stress can crease the panel, separate the seam, or wear the rollers unevenly as the door travels along its track. Catching the problem early usually means replacing one section instead of several.
Dents near the middle of a panel are often the easiest to spot, but the ones that matter most are often at the seams or near the lower edge. A crease along a horizontal seam can let daylight through when the door is closed, which tells you the weather seal is no longer doing its job. In a region with frequent drizzle and gray winters, that gap can invite moisture into the garage and onto stored items. A small dent that looks harmless in July can turn into a damp corner by February.
Timing matters for another reason. Dented or cracked panels are heavier to handle and less predictable during a repair, so a technician will want to assess the door before anyone removes sections. A panel that has shifted or fractured may release tension unevenly when disconnected, which is one reason we treat any work that involves the door's balance system as a job for trained hands. Addressing the damage while it is still localized keeps the repair simpler and the cost lower.
How Damp Pacific Northwest Weather Works Against Steel and Wood Panels
Western Washington's climate is mild by many national standards, but it is persistently damp. Long stretches of overcast weather, frequent rain, and high humidity during the shoulder seasons create conditions where metal and wood both react over time. Steel panels that have a scratch or chip in the factory coating are especially vulnerable, because moisture can get under the paint and begin surface rust that spreads from the edge inward. Wooden and wood-composite doors face a different risk, where swelling, warping, and soft spots can develop if the bottom section sits in water.
Garages in SeaTac also deal with the effects of runoff and pooling near the threshold. Driveways that slope toward the garage, or that collect water from roof valleys and downspouts, can keep the lower panel wet for days at a time. The bottom section takes the brunt of that exposure, and it is also the section most likely to contact a curb, a snowplow-free but still gritty street edge, or a bumper during parking. That combination of moisture and impact is why bottom panels show damage so often.
Temperature swings matter too, even if they are not dramatic. Metal expands slightly in warmer afternoons and contracts on cold nights, and that repeated movement can work at a previously weakened seam or a fastener that has started to loosen. When a panel is already dented, the movement can make the deformation worse over successive seasons. A technician who understands the local climate will often look at moisture indicators, paint condition, and seal wear as part of the same inspection rather than treating each symptom in isolation.
Reading the Damage: Dents, Cracks, Rust, and Hidden Rot
Not all panel damage is equal, and a careful inspection starts with sorting the symptoms into categories. A shallow dent with intact paint and no sharp creases is often a candidate for repair or at least monitoring. A deeper dent with a crease line, a split at a seam, or paint that has cracked around the deformation usually points toward replacement, because the metal has been stretched beyond the point where it will return cleanly. Cracked panels, especially on insulated models, may also have compromised insulation that needs to be replaced along with the outer skin.
Rust and rot require their own assessment. Surface rust on a steel panel that has not perforated can often be cleaned, primed, and painted, but rust that has eaten through the metal or rust that runs along a hidden seam is a different story. Wood and composite panels can look sound on the surface while the core has softened from long-term moisture exposure. Pressing gently along the bottom edge and checking for flex, discoloration, or a musty smell can reveal problems that a quick glance will miss.
Some of the most overlooked damage sits in the hardware that holds panels together. Bent hinges, elongated screw holes, and loose end caps can make a panel look fine while it is actually under strain. A panel that was pushed out of alignment may also cause the roller to bind, which can show up as a noisy door or a jerky lift. When inspecting, look for these secondary signs, because replacing a panel without fixing the connection points can leave the same problem waiting to return.
- Check for creases, not just dents, along horizontal seams and near hinge lines.
- Press the bottom section lightly to test for soft spots or flex in wood and composite panels.
- Look for rust that is bubbling under paint, especially along the lower edge and near the threshold.
- Note any gaps that let light through when the door is fully closed.
- Inspect hinges and end caps for bending, cracking, or stripped screw holes.
Repair or Replace? A Practical Decision Framework
Deciding between repair and replacement comes down to a few practical questions. First, is the damage confined to one section, or has it spread across several? Second, is the panel structurally sound apart from the cosmetic issue? Third, will a repair restore full function, or will it be a temporary patch that needs attention again within a season? Answering those three questions usually points to the right course.
Repair makes the most sense when the metal is intact, the dent is shallow, and the hardware is in good shape. Pushing out a minor dent or refinishing a small rusted area can be cost-effective when the rest of the door is in similar condition. Replacement tends to be the better choice when a panel is cracked through, when rust has penetrated the metal, or when a dent has crushed insulation or distorted the interlocking edges. In those cases, patching the surface leaves the weak point in place.
Age and availability also play a role. If the door is near the end of its expected service life, replacing a single damaged section may not make financial sense compared with investing in a new door. On the other hand, if the door is relatively recent and in good mechanical condition, replacing one section keeps your existing investment intact. A technician should be able to explain both options with the actual condition of your door in front of them, and should be willing to say when repair is not the right call.
- Choose repair when the dent is shallow, the metal is unbroken, and the seams still fit tightly.
- Choose replacement when a crease, crack, or rust hole is present, or when insulation is compromised.
- Consider a full door replacement only when multiple sections are failing or the door is near the end of its service life.
Matching a Panel That Has Been Out in the Weather
Finding a replacement that matches the existing door is one of the trickier parts of panel work. Manufacturers update colors, textures, and profiles over the years, and a panel that came with a door two decades ago may no longer have an exact modern equivalent. Sun exposure fades paint, especially on south- and west-facing garages, so even a panel from the same production run can look different once it has weathered. The goal is a close visual match rather than a perfect copy, and an honest technician will tell you where a difference will show.
The first step is identifying the door's manufacturer, model, and section profile. Many doors have a label or model plate on the inside of a section or near the header, and that information helps narrow down compatible replacements. Measuring the panel height, the rib spacing, and the width of the section gives a second layer of confirmation. Photographs taken in daylight from a few angles can also help when comparing options with a supplier.
Color matching is where expectations need management. A new panel may be a shade lighter or have a slightly different sheen from the surrounding sections, and that contrast becomes more noticeable on doors with decorative windows or two-tone finishes. Some homeowners prefer to repaint the entire door after a panel swap so the color is uniform, which can be a sensible option when the rest of the door is also aging. Discuss this with your technician before the work starts so there are no surprises when the new section goes in.
What a Panel Swap Typically Involves on a SeaTac Driveway
A typical panel replacement starts with securing the door and confirming the work area is clear. Because garage doors are heavy and spring-loaded, the technician will manage the balance system and the door's position throughout the job. In most cases, the damaged section is detached from its neighbors and hinges, the old panel is removed, and the new one is fitted and fastened in place. The door is then tested through a full cycle to confirm smooth travel and proper seal alignment.
For sectional doors, the work usually requires temporarily disconnecting the door from the opener and carefully supporting it. This is where safety matters most. Torsion springs and cables store large amounts of energy, and any task that involves loosening or adjusting them should be handled only by a licensed professional with the right tools and training. Attempting this kind of work without experience can cause serious injury, which is why we always recommend a licensed technician for any step that touches the spring or cable system.
Most panel swaps on a typical residential door can be completed in a single visit, though timing depends on the door's condition, the availability of the matching panel, and whether any hardware needs replacement at the same time. If a replacement section has to be ordered, the job may require a second appointment. Your technician should explain the timeline before scheduling and let you know whether the garage will be unusable during the work.
Pricing Per Section and What Shifts the Number
Panel replacement is generally priced per section, with a typical range of $250 to $800 per section depending on the door. That range reflects differences in door type, panel material, insulation, finish, and how difficult the section is to match or access. A basic steel section on a standard door will usually fall toward the lower end, while an insulated section with decorative glass or a specialty finish will often cost more. Every door is different, so the figure should be confirmed after an inspection rather than assumed from a general estimate.
Several factors push the cost up or down. The number of sections being replaced matters, since some setup and inspection time is shared across the job. The condition of the surrounding hardware can add to the bill if hinges, rollers, or end caps need replacement along with the panel. Accessibility also plays a role, because doors with tight ceilings or unusual track configurations can take longer to work on. Where the replacement panel must be special-ordered, the lead time and any shipping costs should be factored into the total.
It helps to ask for an itemized estimate that separates the panel itself from labor, hardware, and any spring or cable service that may be needed. A clear quote lets you compare options and understand what you are paying for. If the inspection reveals that repair or a different approach would serve you better, a trustworthy technician will say so rather than default to the most expensive option.
Backing Accidents, Insurance Questions, and Paperwork in King County
Many panel replacements in SeaTac begin with a backing accident, a mirror clipping the door frame, or a bicycle or delivery cart striking the lower section. These incidents are common in driveways with limited turning space, and the damage is often confined to one panel. If the damage resulted from an accident, it may be worth checking whether your homeowner's policy covers the repair. Coverage depends on your policy terms and the nature of the incident, so review your documents or speak with your insurer before assuming either way.
If you plan to file a claim, document the damage before any work begins. Take clear photographs of the panel from several angles, including a close view of the dent or crack and a wider shot showing the door in context. Keep any written estimate, invoice, and communication with your insurer in one place. Having an organized record speeds up the process and reduces the chance of disputes over what was damaged and when.
Not every incident needs to become a claim. For smaller repairs, paying directly may be simpler than navigating a deductible that is close to the cost of the work. Weigh the price of the repair against your deductible and any potential premium impact before deciding. Whatever you decide, make sure the repair is completed by a licensed and insured professional so the work is properly documented.
Keeping Moisture Out of the Bottom Section and Threshold
Because the bottom panel takes so much of the damp weather and daily wear, protecting it is one of the most effective ways to extend the life of your door. Start by checking the bottom weather seal, which runs along the lower edge of the door and compresses against the garage floor when closed. A seal that is cracked, flattened, or pulling away lets water and debris in, and it can be replaced without swapping the entire section. Keeping the seal in good condition reduces the chance of rot or rust starting at the bottom edge.
Drainage around the garage matters as much as the seal. If water pools at the threshold or flows toward the door from the driveway, the bottom panel will stay wet longer than it should. Clearing gutters and downspouts so that roof water is directed away from the garage opening can make a noticeable difference during extended rain. Some homeowners also find that a simple threshold adjustment or a small grade change resolves recurring moisture issues.
Finishing matters too. A fresh coat of paint or a protective primer on exposed metal edges can slow corrosion, especially in areas where the factory coating has been chipped. Wood and composite bottom sections benefit from a quality exterior sealant applied according to the manufacturer's directions. Routine attention to these details, once or twice a year, can prevent a small problem from becoming a full panel replacement.
When the Opener Works Fine but the Door Looks Broken
Some of the most frustrating calls come from homeowners whose door runs smoothly but looks visibly damaged. The opener responds, the door lifts and closes without issue, and the sensors work, yet a bent or cracked panel is impossible to ignore. In these cases, the door is mechanically sound, and a targeted panel replacement is often the right solution. There is no need to disturb the opener, the springs, or the track system if the problem is limited to the surface and the section itself.
Even when the door works well, it is worth confirming that the damaged panel is not affecting alignment or balance. A section that is heavier or lighter than its neighbors because of water absorption or missing insulation can put uneven strain on the lift. If the door begins to sag, shudder, or stop partway through its travel, that is a sign the problem may extend beyond the panel and should be inspected by a licensed technician. Do not attempt to correct balance issues yourself.
For cosmetic-only problems, a panel replacement can restore the door's appearance without touching the parts that carry the load. Think of it as a targeted fix that preserves what already works. A good technician will tell you clearly whether the job is purely cosmetic or whether it reveals a deeper concern, and will recommend next steps accordingly.
Keeping a Replacement Panel Looking Right for the Long Haul
Once a new panel is installed, a little routine care helps it blend in and last. Wash the door with a mild soap and water every few months, rinsing away the grime and salt-free road film that accumulates in the Puget Sound lowlands. Avoid harsh abrasives or solvents that can dull the finish or strip protective coatings. A soft cloth and gentle cleaner are usually enough to keep the surface looking consistent with its neighbors.
Inspect the new section at least once a season. Look for early signs of scratching, chipping, or seam separation, especially near hinges and at the bottom edge. Address small scratches promptly with a matching touch-up paint, which prevents moisture from reaching bare metal. Catching issues early keeps future repairs as simple as this one was.
Finally, keep records of the work. Note the date of the panel replacement, the section location, the manufacturer or model information, and any paint codes used. If you need another panel later, that documentation will make matching much easier. It also gives you a clear history of the door, which is useful if you ever sell the home or file a future insurance claim.
Panel damage is one of the most manageable garage door problems, and in many SeaTac homes it can be resolved with a single section swap. If you have a dented, cracked, rusted, or water-damaged panel and want an honest assessment of whether it should be repaired or replaced, call Seattle Garage Door Fix at (888) 799-3819. Our licensed, bonded, and insured technicians will inspect the door, explain your options clearly, and recommend a licensed professional for any spring or cable work so you can get back to using your garage with confidence.