
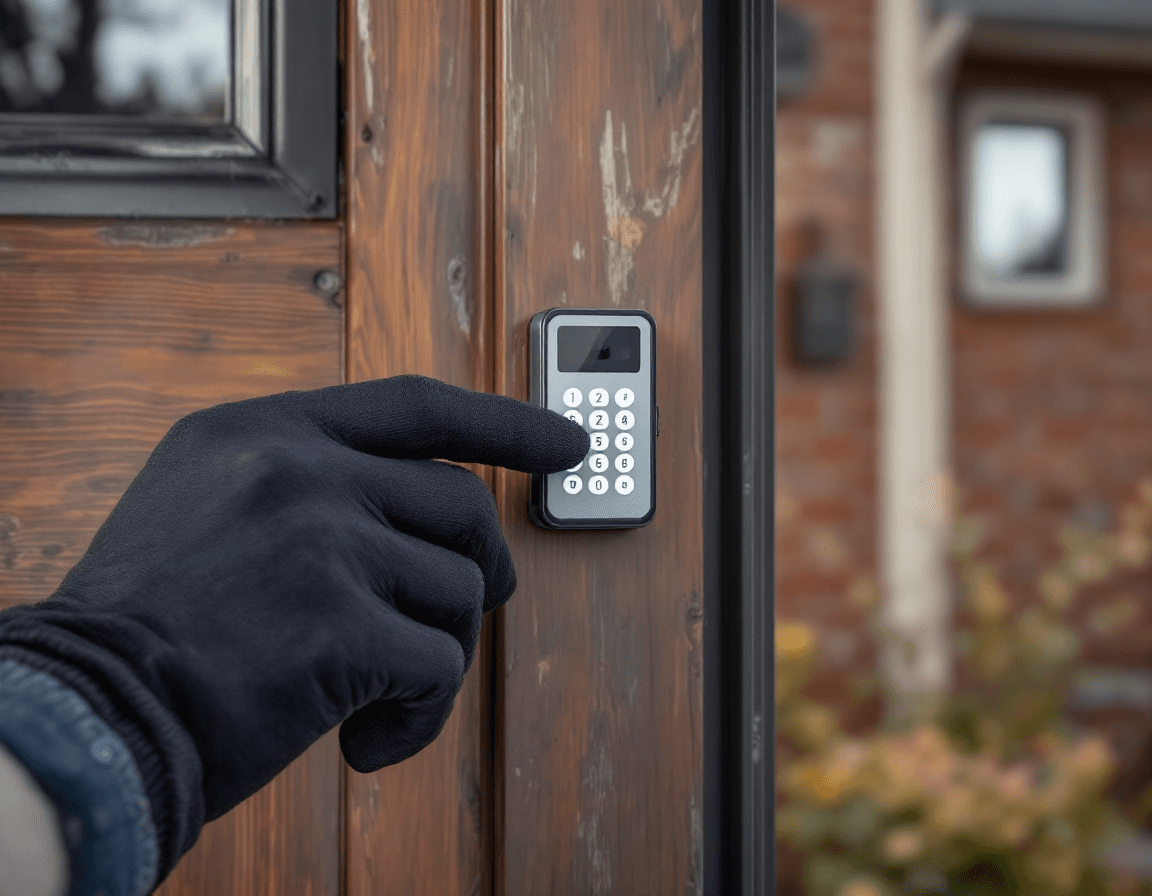
Garage Door Remote & Keypad Service in Auburn, WA is one of the most common calls our technicians take, and it is often the simplest fix on the list. A remote that worked last month and now does nothing can leave you sitting in the driveway in the rain, wondering whether the opener has died. In most cases the opener is fine, and the problem lies in the handheld transmitter, the wall keypad, or the link between them. Our team handles remote programming, keypad installation and troubleshooting, and in-car opener pairing for homes across Auburn and the surrounding King County communities.
Auburn sits in a valley where the Green and White rivers have shaped the land for thousands of years, and that geography brings moisture, cool nights, and long stretches of gray weather. Those conditions affect electronics in ways homeowners rarely expect. A remote carried daily in a jacket pocket or left on a dashboard on a humid morning can develop problems that look like a failing opener but are really a tired battery, a corroded contact, or a receiver that has drifted out of sync. We see these patterns across neighborhoods from Auburn Downtown up toward Lakeland Hills and out along Lea Hill, and the diagnostic steps are usually quicker than people fear.
This page explains what typically goes wrong, how we approach each symptom, what affects the cost, and what you can check yourself before calling. You will also find practical notes on lost remotes, exterior keypads, and HomeLink pairing. If your situation involves springs, cables, or any part of the door's mechanical system, we will say so plainly, because those jobs belong to a licensed professional and should never be attempted as a do-it-yourself project.
Why Remotes Give Up Faster in a Damp Auburn Winter
Western Washington winters are not especially cold by national standards, but they are persistently damp, and dampness is hard on small electronics. Moisture gets into the rubber button membranes of a handheld remote, sits against the circuit board, and slowly oxidizes the contacts beneath the battery. The result is often an intermittent remote, one that works from the end of the driveway but fails when you are standing right beside the door. Homeowners frequently assume the signal is weakening, when the real culprit is a thin film of corrosion that interrupts the electrical connection.
Temperature swings add another layer. A remote that spends a cold night in a parked car and then gets carried into a warm kitchen can collect condensation inside its housing, and that water does not always evaporate before the next use. Batteries also lose capacity faster in cold conditions, so a cell that seemed fine in October may sag by January. Because these changes happen gradually, the remote often works most of the time and then fails at the worst possible moment, which is why intermittent behavior deserves attention rather than a shrug.
When we open a remote with these symptoms, we typically find one or more of the following: a battery that tests low under load, green or white crust on the battery terminals, a button membrane that has lifted slightly, or a cracked housing that lets moisture in. Cleaning the contacts and replacing the battery solves many cases outright. If the circuit board itself shows corrosion or the buttons remain unreliable after cleaning, replacing the remote is usually the more durable choice.
Telling a Dead Battery from a Failing Receiver
One of the most useful skills a homeowner can develop is distinguishing a remote problem from an opener problem. If the wall-mounted control button or the keypad also fails to close the door, the trouble is almost certainly in the opener or its wiring, not in your handheld. If the wall button works perfectly but none of your remotes respond, the receiver on the opener's motor unit is the more likely suspect. Testing this comparison takes less than a minute and can save you a service call you did not need.
Many openers include a light or LED on the motor unit that flashes when a signal is received. When you press a remote button and see that light blink, the receiver is hearing you, which points the finger back at the transmitter, its battery, or its programming. When nothing blinks at all, the receiver may be failing, or the antenna wire hanging from the unit may have come loose or been damaged. Antenna wires are thin and sometimes get pinched behind a shelf or bent during storage cleanup.
Range also tells a story. A remote that works only within a few feet of the door points toward a weak battery or a receiver with reduced sensitivity. Interference from nearby radio sources, including some LED lighting, wireless doorbells, or neighbors' transmitters in dense blocks, can also shorten range. We check interference only after confirming that the basic components are sound, since most range complaints trace back to batteries and contacts rather than outside sources.
Replacing a Lost Remote Without Leaving the Garage Open
Losing a garage door remote is more than an inconvenience. Anyone who finds it can open the door, and in a neighborhood where people leave cars parked near the driveway or walk dogs past open garages, that risk is real. The good news is that most modern openers can be reprogrammed to erase lost transmitters, so you do not have to live with an unknown device still able to operate your door. Doing this promptly is one of the simplest security steps a homeowner can take.
The erase procedure varies by manufacturer. On many openers, you press and hold a learn or program button on the motor unit until its indicator light goes out, which clears every stored transmitter. You then program each remote you still own back into the system. Some newer units let you delete a single remote through a smartphone app or a keypad menu, which is more convenient if you only lost one device. Because procedures differ, it helps to check the label on the motor unit or the manual before you begin.
When we replace a lost remote, we confirm the opener's frequency and code type before ordering hardware. Many older units use fixed codes, while most units from the last couple of decades use rolling codes that change with each press for security. A replacement remote must match the opener's system, so ordering the wrong one is a common and frustrating mistake. We also recommend a fresh count of every remote in the household, since each one you keep active is another device that can be misplaced.
When Your Keypad Refuses the Code You Know
A keypad that rejects a code you are certain is correct can feel like a locked door with no explanation. The most frequent causes are simple: the keypad has been reset, the code was changed by a previous occupant, or the buttons are not registering because of moisture or grime. Exterior keypads in particular sit in the weather year-round, and the rubber or plastic keys can accumulate dirt, pollen from the cedars and firs common across the valley, and water that seeps behind the faceplate. A keypad that was working in summer can start misbehaving after a few wet months.
Next, consider the keypad's internal logic. Many keypads lock out for a set period after several incorrect entries, and some models require you to press a specific sequence to enter programming mode. If you have accidentally triggered a lockout, the keypad may ignore even the correct code until the timer expires. Batteries inside wireless keypads can also weaken, causing partial or delayed responses that look like a wrong code. Replacing the battery is a quick first step that resolves more keypad complaints than most people expect.
If the keypad still fails after cleaning and battery replacement, the problem may be the keypad itself or its connection to the opener. Wired keypads depend on low-voltage wiring that can loosen or corrode at terminals, and wireless keypads must remain synchronized with the receiver. We test the keypad's response at the opener, verify the programmed code, and determine whether the unit needs repair or replacement. Replacing a faulty keypad is often straightforward, but matching it correctly to your opener's system is important.
Adding an Exterior Keypad for Lakeland Hills and Lea Hill Driveways
Many households in Lakeland Hills and along Lea Hill want an exterior keypad so family members, babysitters, contractors, and delivery drivers can enter without carrying a remote. This is a practical upgrade, particularly for homes where the garage is the main entry or where teenagers regularly lose their transmitters. An exterior keypad also gives you a backup when a remote battery dies on a busy morning, which is a common reason homeowners consider the change.
Installation begins with choosing the location. The keypad should sit where it is easy to reach from the driver's seat or the sidewalk, but it should also be protected from direct water runoff and from the worst afternoon sun, which can fade faceplates and stress seals. Many hillside properties in these neighborhoods have sloped driveways where rain flows toward the garage, so mounting height and shielding from runoff matter more than people anticipate. We also check that the keypad is within range of the receiver or connected to the correct wiring run.
Wireless keypads are the most common choice for an add-on installation because they avoid running new low-voltage cable through finished walls. Wired keypads offer more reliability over long distances but require careful routing. Either way, the installer should set a unique code, verify it from outside, and show you how to change it. If you plan to share access, we suggest assigning individual codes where the system allows, so you can remove one person's access without changing the code for everyone.
Pairing Your Car's HomeLink Buttons Step by Step
Many vehicles built in recent years include built-in garage door openers, often sold under the HomeLink name or a similar integrated system. These buttons on the rearview mirror or overhead console can replace the separate remote, but they must be trained to your specific opener. Pairing failures are common, and they usually stem from one of a few predictable issues: the wrong button was chosen, the opener's learn button was not pressed in time, or the opener uses a code type the vehicle cannot reliably match. Our technicians handle this procedure regularly, and the process is methodical rather than mysterious.
The general approach is to park the vehicle where you can see the door, press and hold the chosen car button, and then press the learn button on the motor unit within the window described in your vehicle manual. Many openers require the car button to flash in a particular pattern before the programming is complete. Some systems also need you to press the button repeatedly during the handshake. Missing the timing by even a second can cause the attempt to fail, so patience and attention to the manual's exact sequence matter.
- Confirm your vehicle's owner manual lists a compatible garage door system, and note the button you plan to program.
- Locate the learn or program button on the opener motor unit, usually near the antenna wire.
- Stand near the door with the engine off and the vehicle in view of the door.
- Press and hold the car button while pressing the learn button on the opener, following the timing in the manual.
- Test the door several times from the car to confirm the pairing is stable before you rely on it.
If the pairing will not complete, do not repeatedly erase and retry, since this can confuse both systems. Instead, note the exact step where the process stalls and check whether the opener is a model the vehicle supports. Some older openers and certain third-party systems do not accept the rolling code formats vehicles use, and in those cases a compatible remote or a keypad may be the better solution. We can test compatibility and recommend the most reliable path for your particular vehicle and opener.
Matching Frequencies and Code Types on Older Auburn Openers
Homes in the older parts of Auburn and neighborhoods built several decades ago often have openers that predate the rolling code standards now common. These systems typically operate on fixed codes and may use frequencies that differ from what modern replacement remotes assume. If you have an older opener and need a new transmitter, the first task is identifying the opener brand, model, and frequency, usually printed on the motor unit or the original remote. Guessing based on appearance alone often leads to a remote that will not program.
Fixed-code systems have a security limitation that homeowners should understand. Because the same signal is transmitted every time, a determined person with simple equipment can capture and replay it. This is one reason many homeowners upgrade their openers and remotes over time. An upgrade does not always require replacing the entire opener, since some motor units accept compatible receiver kits or updated logic boards. We evaluate whether a targeted upgrade makes sense, or whether replacing the opener is the more practical and secure choice.
When you have an older system and are unsure what you have, bring the remote to the appointment or photograph the label on the motor unit before calling. Those details let us check compatibility quickly, which keeps the visit efficient. In many cases we can confirm the correct replacement on the spot and explain the options without a lengthy diagnostic process.
What Happens During a Downtown Auburn Service Call
Every remote or keypad visit begins with a short conversation about the symptoms you have noticed. Knowing whether the problem started suddenly, appeared after a storm, or developed slowly over several weeks helps narrow the cause. We ask which devices are affected, whether the wall button still works, and whether the door responds to any transmitter at all. These questions take only a few minutes but shape the rest of the visit, and they often reveal the likely fix before we open a single cover.
The technician then tests the system in an organized order. We check the opener's power, the receiver's response to a known-good transmitter, the battery condition in each remote and keypad, and the condition of the antenna and low-voltage wiring. We also verify programming, review how many devices are stored, and check for any lockout or safety feature that might be affecting operation. Testing in this sequence prevents unnecessary parts replacement and keeps the cost predictable for homeowners who want clear answers.
- Power and receiver check at the motor unit, including the indicator light response.
- Battery and contact inspection on every remote and keypad in the household.
- Antenna wire and wiring condition, including loose or pinched connections.
- Programming review, including stored device count and any lockout settings.
- Post-repair testing from inside and outside the garage, at the range you normally use.
Throughout the visit, the technician will explain what was found and what options exist. If a remote can be repaired with a fresh battery and cleaned contacts, that is the approach we take. If a part needs replacing, we present the cost before proceeding, so you can decide how to move forward.
Understanding the $65–$185 Service Range and Replacement Hardware
Our remote programming, keypad installation and troubleshooting, and in-car pairing services are priced within a range of $65 to $185, depending on the work involved. The lower end generally reflects straightforward programming or a simple troubleshooting visit, while the higher end covers more involved keypad installation or diagnostic time on a system with multiple problems. The final figure depends on what the technician finds during the visit, and you will receive that information before any additional work begins. This range does not include the cost of a new remote or keypad.
Replacement remotes and keypads are priced separately because hardware varies widely by brand, frequency, and features. A basic replacement remote for a common opener costs less than a keypad with a backlit display or smartphone integration. When we recommend hardware, we explain the difference between a generic option and an OEM-matched part, and we note any compatibility limits. Choosing the right part at the start avoids paying for a second visit to correct a mismatch.
Costs can also rise if the underlying problem is not the remote at all. A failing receiver, a damaged antenna, or a motor unit that needs repair will change the scope of the job, and we will discuss those findings openly. Our goal is to keep the path clear: fix what is truly broken, avoid replacing parts that still work, and make sure you understand each step before you agree to it.
Keeping Remotes and Keypads Working Through Every Season
Preventive habits go a long way in the Pacific Northwest. Store remotes indoors rather than leaving them in a damp vehicle or on a wet porch shelf, and wipe them with a dry cloth if they have been exposed to rain. Replace batteries on a regular schedule rather than waiting for a failure, and consider keeping a spare battery in the glove box or kitchen drawer. A few minutes of attention each season can prevent the most common remote problems we see across Auburn and the surrounding communities.
Exterior keypads benefit from periodic inspection. Look for water spots behind the faceplate, loose screws, cracked seals, and faded buttons, and clear debris from the keys with a soft brush. Trim shrubs that touch the keypad so foliage does not hold moisture against the unit. If you notice slow or inconsistent responses, test the keypad early rather than waiting until a cold morning when you need the door most.
Keep a simple written record of every remote and keypad code, the date of your last battery change, and the location of your opener's learn button. This small step makes future service faster and reduces the chance of being locked out by a forgotten code. If you ever sell the home or change households, reset all codes and erase any remotes you no longer control, since previous access should never remain active.
Whether your remote has stopped responding, your keypad rejects a code you know is right, or your car's HomeLink buttons will not pair, a short visit can usually restore reliable access. Call Seattle Garage Door Fix at (888) 799-3819 to schedule remote programming, keypad installation or troubleshooting, or in-car opener pairing for your Auburn home. We serve Auburn Downtown, Lakeland Hills, Lea Hill, and the surrounding ZIP codes 98001, 98002, and 98092, and our licensed, bonded, and insured technicians will explain your options before any work begins.